Tuesday, 15 February 2022

Sometime much later

 Well it happened again, no updates here for sometime but another new project started!

This is a small microbot that I’m building for the Centre for Computing History for this summer’s workshops. 
It’s all built around the Pico Pi and two servo motors, plus a small 3 x AAA battery box.

P.S. The workshop now has new shelves giving more space for a motorcycle restore :-)


Thursday, 13 May 2021

Connections

 Some work over the last couple of weeks, albeit small.  I have now added a 9v power connection, so that I can develop code while connected to a power brick.  Also added a connection panel to the rear of the robot,  this allows better connection to the Arduino and reset switch.


Connection to CP/M over telnet


Monday, 12 April 2021

Head sensors

 Added some simple mounts for three reed switches. These are then connected to an analog pin via a resistor ladder.  I have created some simple code that stops the head from turning once the magnet has reached a switch, this should allow for some testing of head position and mounting.

Once this part is finished, it will time to create a simple program to allow Hero Jr to be driven.  Now that I can telnet to the Z80 this should make things easier.

As lockdown now starts to ease, updates on this project may not be as frequent.  I do feel that this robot has much scope as a development platform, much like the original bots.  I have lots of ideas, and development of the head including an input panel and LEDs will be next.


Wednesday, 31 March 2021

Looking ahead

 A little more 3D printing and the basic layout for the head is complete Need to workout how how to find the forward position. Running out of pins on the Arduino!


Wednesday, 24 March 2021

Paint job

 Looking good after a first coat of primer, still more sanding and some filling to do.


Monday, 22 March 2021

New motor

 New motor arrived today, although much smaller than the original the gearbox really helps.  Made up a quick adapter plate from some scrap aluminium.  Seems much better, will now replace the rear sensor from a micro switch to an optical sensor.  This should help as the micro switch was not being reliably triggered. 

Saturday, 20 March 2021

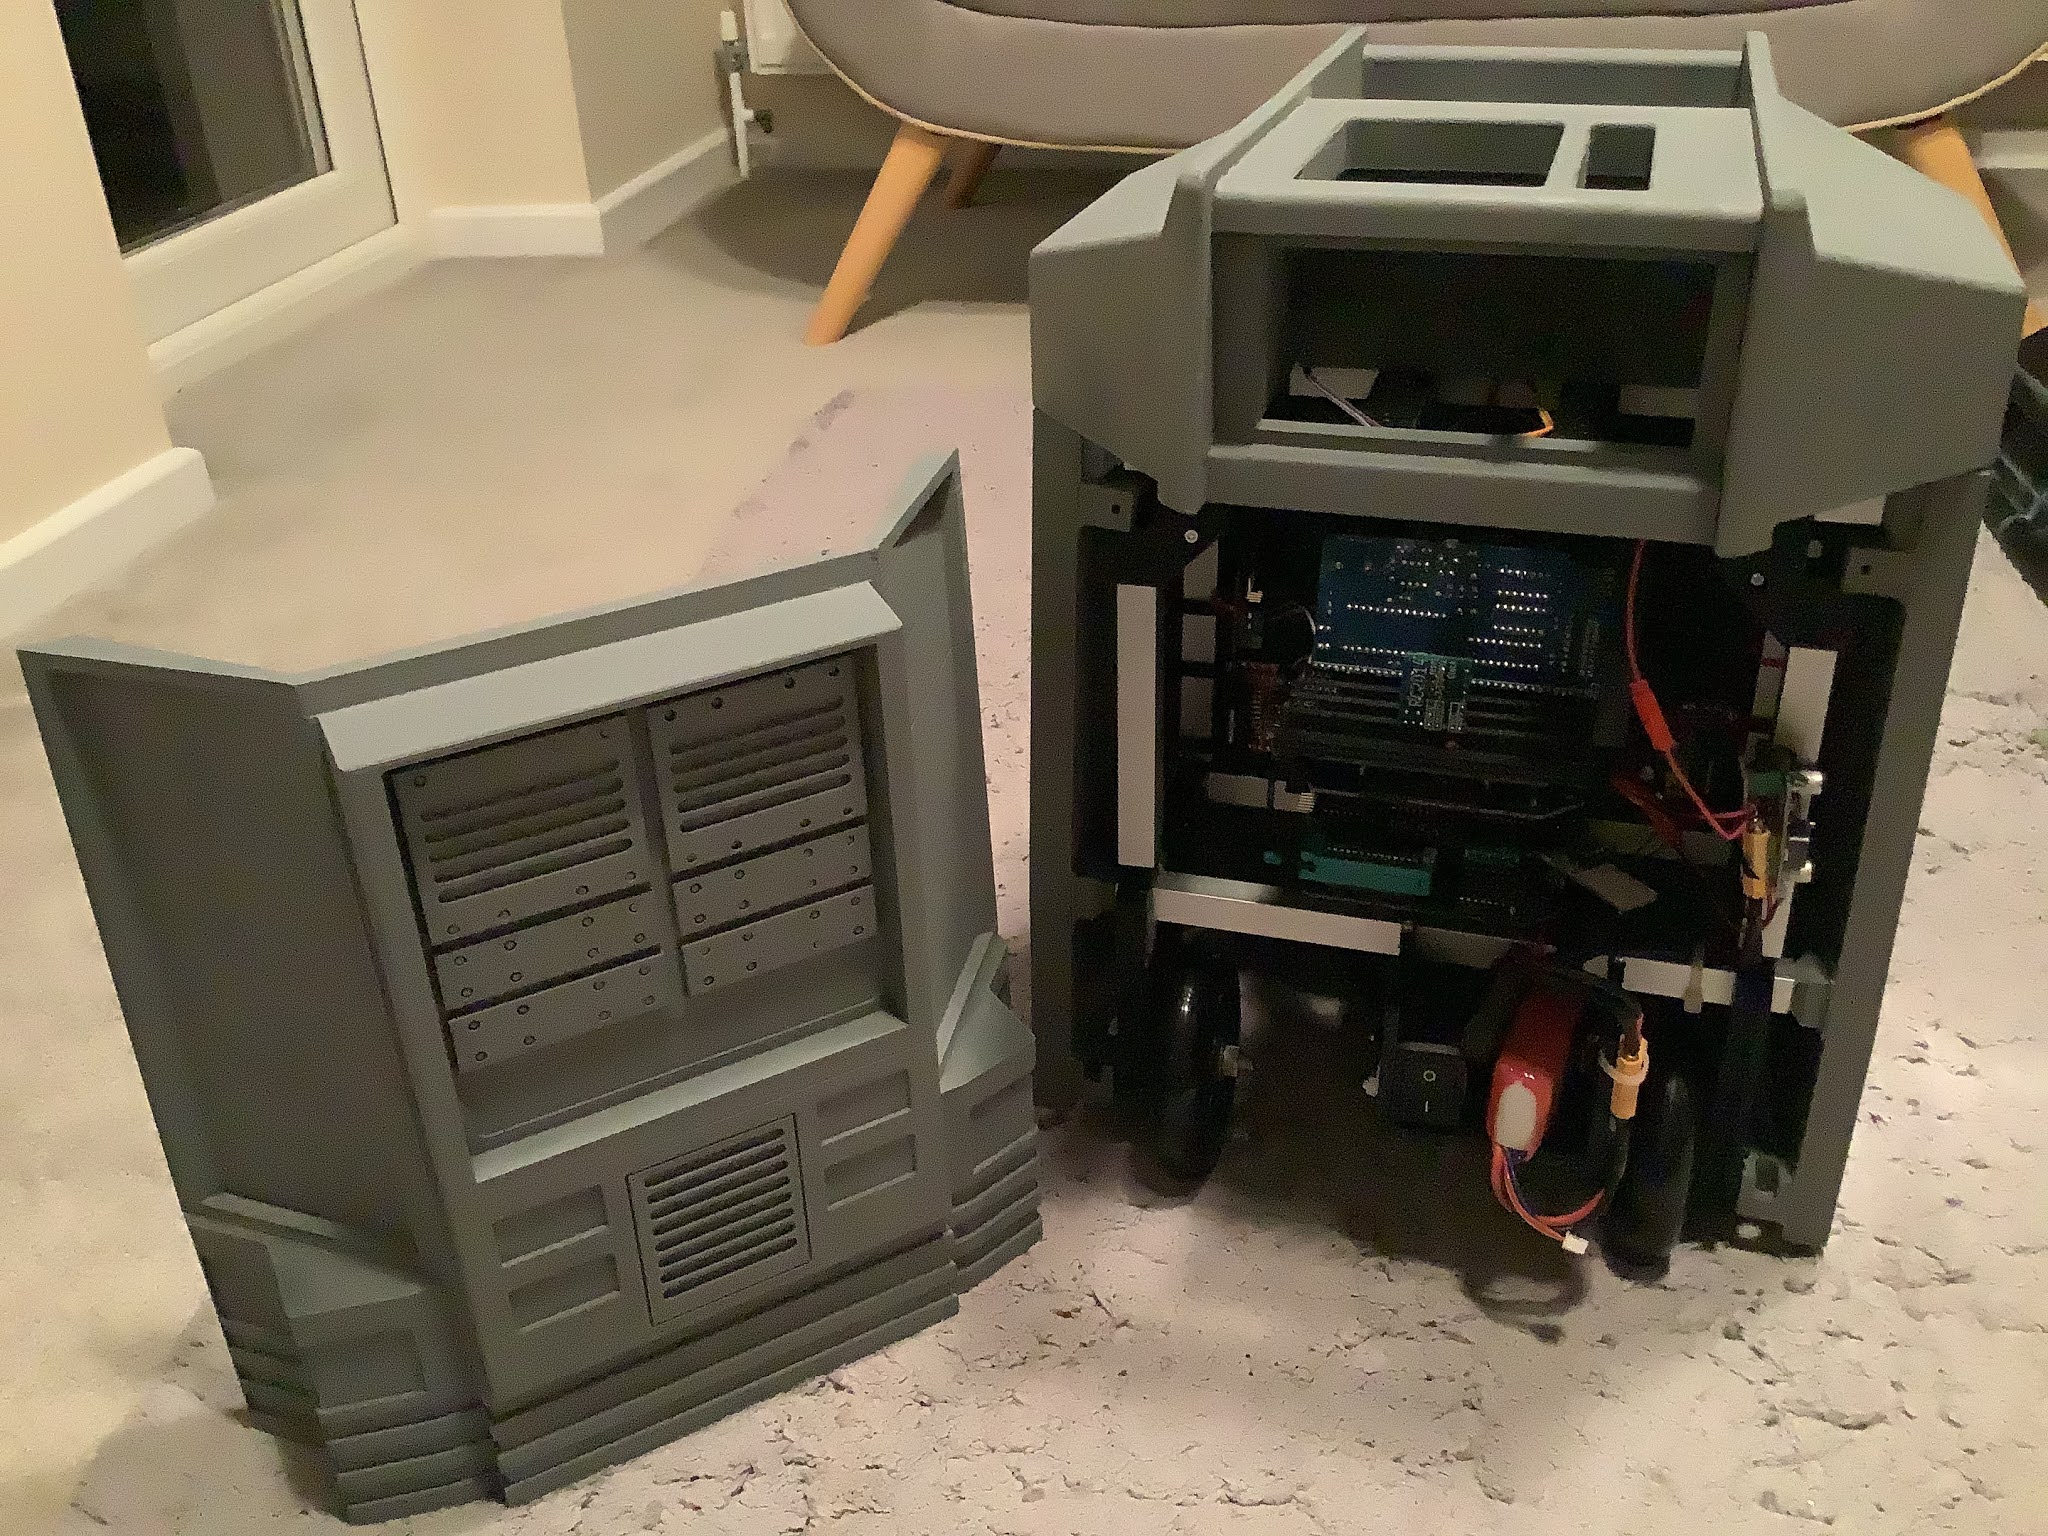
RC2014 inside

 The RC2014 has now moved it to it’s new home.  Much work now need to be done on tidying the wires to motor control boards and the Arduino.


Wednesday, 17 March 2021

Fist steps

 Hero Jr has taken his first steps.  He is not so keen on a deep pile carpet, but fine on the kitchen tile floor. This is due to the steering steeper motor.  He needs something with more torque to turn the wheel on carpet.  I have ordered a 71:1 stepper and gearbox it’s quite a small motor but I’m hopeful this will work.  Next steps are to fit a cutoff switch and look at fitting the RC2014 inside.  I need to tidy up the wiring to the Ardunio as I think this will be kept to handle the control of the lower motors.  I looking at using the remaining pins to interface with a RC2014 I/O board.

Monday, 15 March 2021

Movement Tests

 The basic frame is now finished and ready for some testing.  Using a Arduino Micro Pro to test the motors will provide a quick and easy platform for creating some test code.  The stepper motor for the wheel turning is just temporary until a better motor and gearbox can be found.  Using two L298N driver boards for control of the two motors.  I may leave the Micro Pro in as an interface to the motors from the RC2014?  The next step is to creat some stop switching so the wheel knows it’s location.


Tuesday, 9 March 2021

Wheel assembly

 Finished the wheel assembly today.  The axels are on adjustable mounts so that Hero can be levelled, once the rear motor has been finished.  I did a quick test to see how it drives, and it’s all looking great! (So far, famous last words)


Sunday, 7 March 2021

Stepper works

 Stepper testing completed.  Looks like it should be fine


Saturday, 6 March 2021

Inside structure

 I have most of the inside structure worked out now.  The four uprights will be supported at the top by some removable clamps.  This will allow me to slide on additional supports for the CPU module and anything else that needs adding. These clamps are yet to be designed as I want to assembly the central part of the robot first.  All the motor parts have been assembled and I have used some parts salvaged from an old printer, this includes a couple of brass bushes.  Next steps are to test a stepper motor I have from the same printer to see if it has the required toque to steer the drive wheel.  I have dug out an arduino mega for quickly creating some code on.


Thursday, 4 March 2021

Slowly coming together

 A day of careful planning and it all starting to look good.  Can’t wait for this one to take its first steps


Building the body

 With all the fixing parts now printed assembly can start.  I will need to sand parts to the correct angles to fit the side panel and glue these in place.  All the weight will be on the internal metal frame, so I hope the glue will be strong enough!


Tuesday, 2 March 2021

Getting ahead

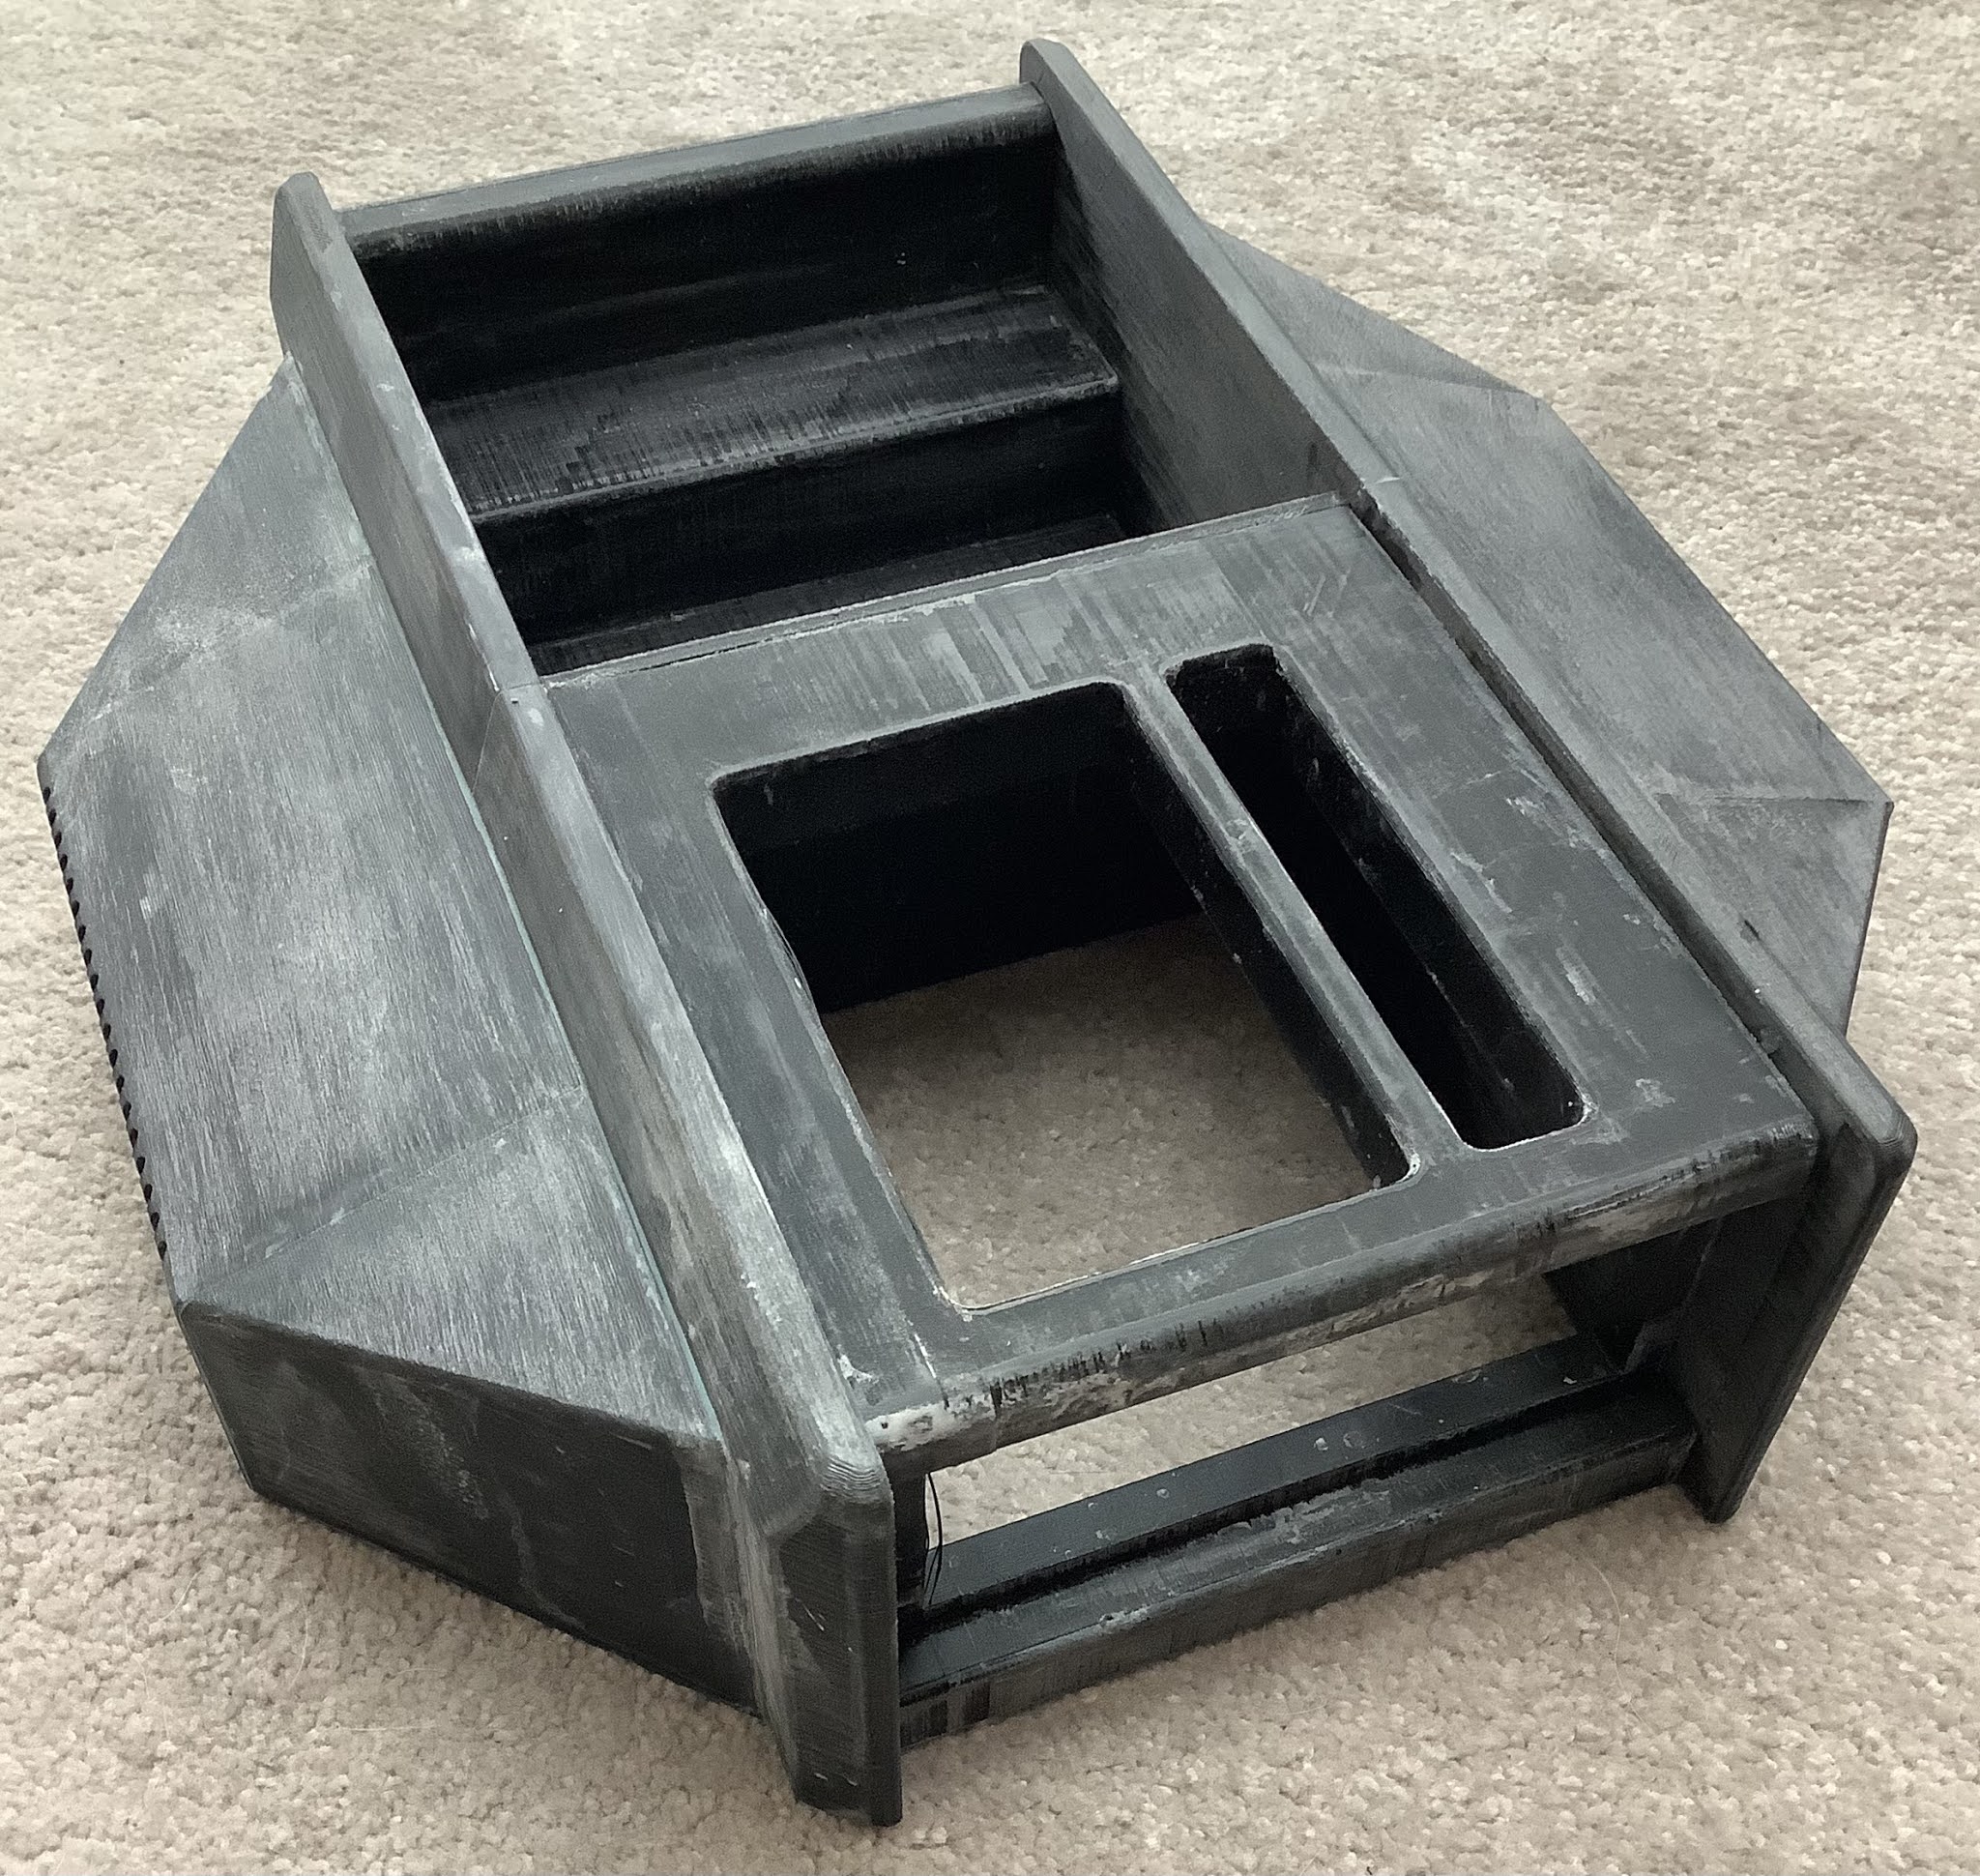
 Wow that took some time, but I have finally finished printing all the large parts.  The head has been glued together with just the panels to add.  The top ones will be removable to allow some flexibility with what I decide to use them for.


Friday, 26 February 2021

Body Phase One Finished

 Printing and gluing of the main body parts has now finished.  I still have some gap filling to do and have found that epoxy putty given to me by a friend works very well.  Printing of the head is also going well with around half of the parts done.


Tuesday, 23 February 2021

Box file layout

 Mounted on 9mm ply to make it more permanent.  Lots of detailing to still do.


Monday, 22 February 2021

Motor mount

Made good progress on the motor mount today.  I have now finished printing all of the main body parts, so now it’s time for the head.  This has around 14 components, so much printing still to be done.  I also managed to glue another part to the front panel this will allow me to finish this part soon.  Square tube looks like the way to go for the internal structure so next will be the design for this, and the second half of the motor mount.


Sunday, 21 February 2021

I/O

 Going to look at some code today to use these i/o expanders.  I only have one more part to print for the body, should just have enough filament left to do this tomorrow.  Then we are on to printing the head part. I need to think about how parts are printed so that I get good detail for some of the LED openings.

(I have also made some good progress on the box file layout)


LED plugged into VCC for testing.


Thursday, 18 February 2021

More printing and gluing

 Everything starting to come together now, still much more printing, glueing and sanding to go.